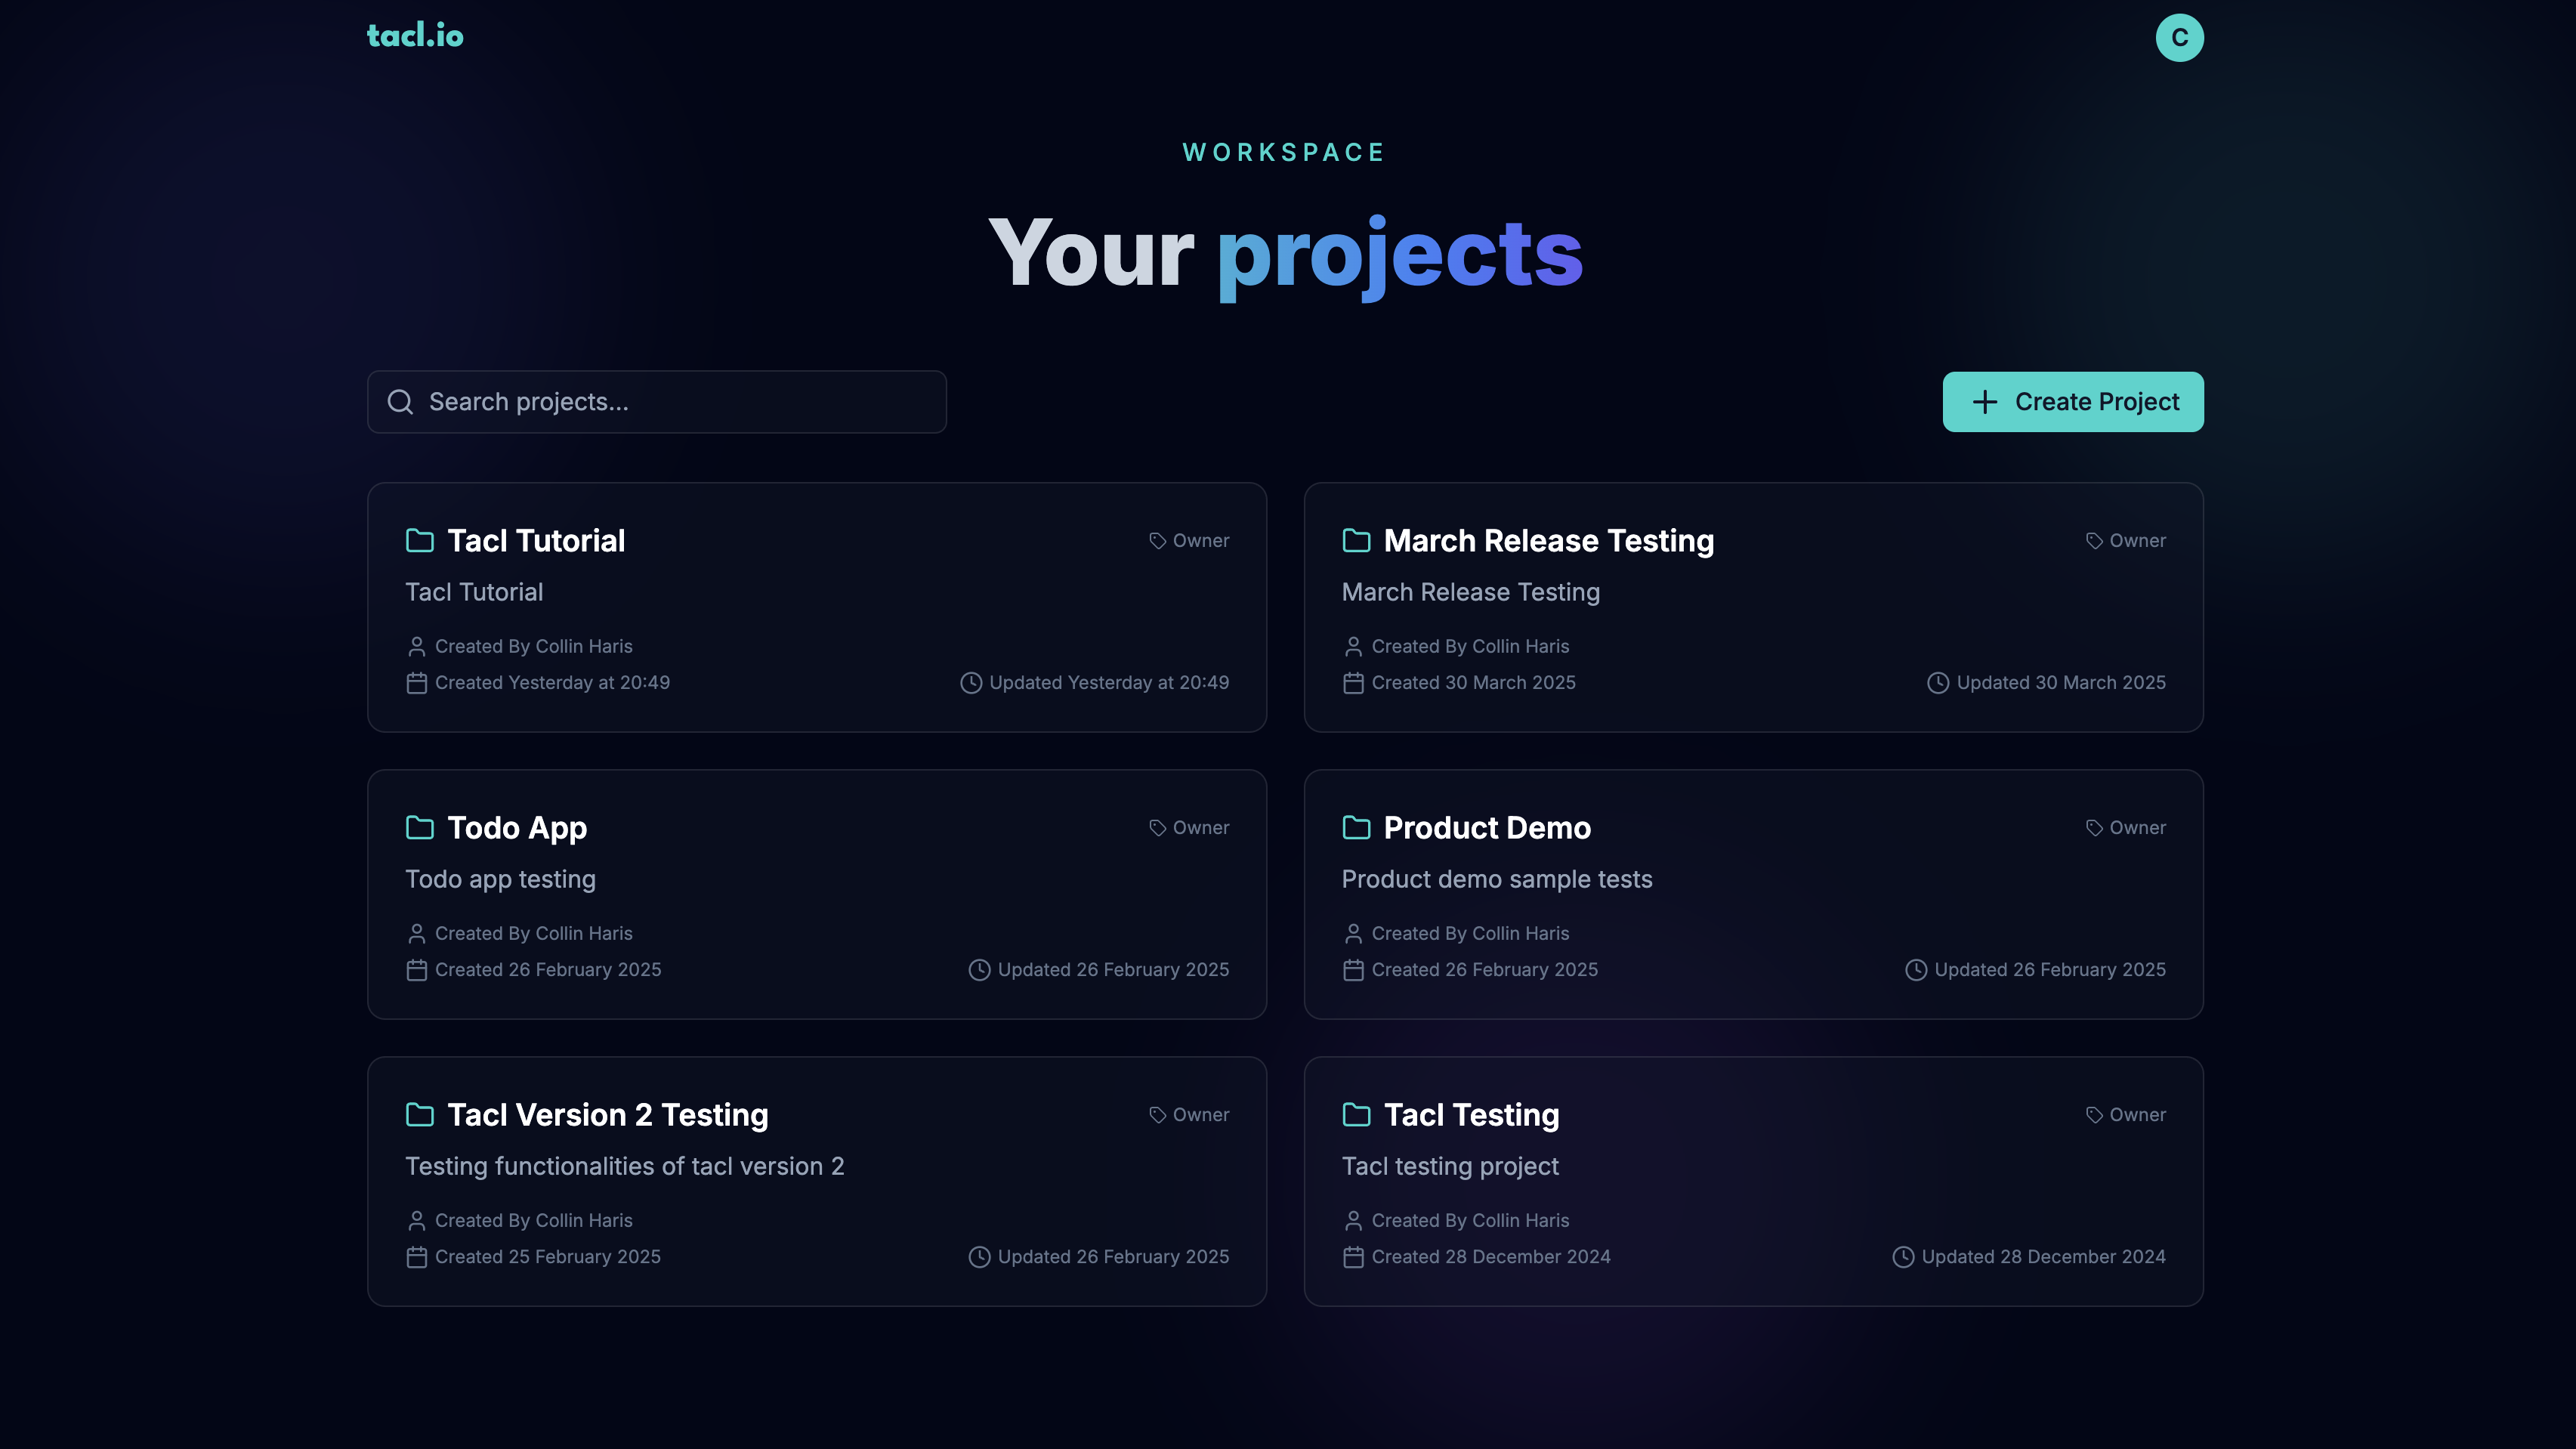
Projects
In tacl.io, projects are the top-level entities for organizing your automation tests. Each project represents a collection of test cases, elements, and configurations to streamline testing workflows. This section will guide you through creating, managing, and organizing projects effectively.
Overview of Projects
Projects allow you to:
- Organize and manage web elements that will be used across tests.
- Group related test cases and configurations.
- Define settings and permissions specific to each project.
Projects are useful for categorizing tests for different applications or testing environments, allowing you to manage your tests independently.

Creating a New Project
To create a new project in tacl.io:
- Navigate to the Projects Page:
- Click on "Create Project":
- Fill in Project Details:
- Project Name: A unique name for your project.
- Description: Add a brief description to clarify the purpose of the project.
- Click "Create":
You should now see the project listed in the Projects dashboard.. Once created, you can select the project to enter into its workspace, where you can start adding web elements and test cases.
Project settings
You have more control over your project settings and configuration in the project workspace settings section. Check out the Settings guide to learn more.
What's Coming Next?
Some of the upcoming features include:
- Team Collaboration: Invite team members to collaborate on projects.
- Viewers and Editors: Assign roles to team members based on their access level.
- Switch Accounts: Easily switch between personal and team accounts.
If you like to upvote or suggest a feature, please visit our Feature Requests page.